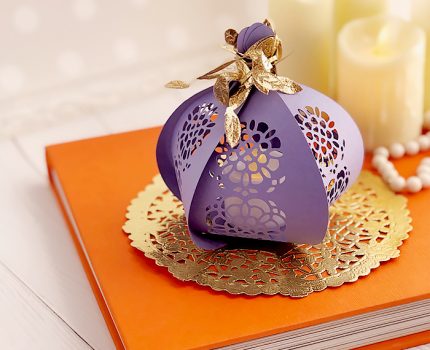

I have an ideal paper lantern – easy to make, small and elegant. Perfect for weddings and parties. And even for fall home decoration.
I love to put them on the tables and shelves or hang on the walls. This is the perfect way to brighten the atmosphere in my home and cozy up the dark fall and winter afternoons.
Paper lantern Silhouette Studio cut file • SVG/EPS/DXF cut file


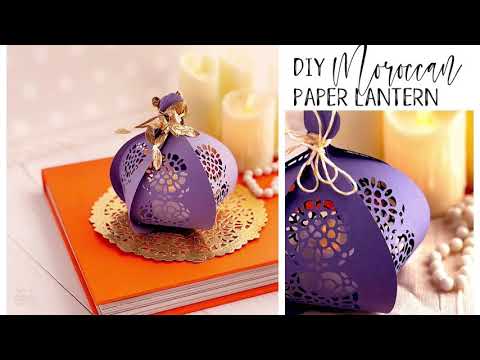
The assembly tutorial
DIY Moroccan Paper Lantern
Here are some more beautiful lanterns


For more home décor ideas, make sure to follow me on Pinterest, Instagram, YouTube, and Facebook.


