|
|
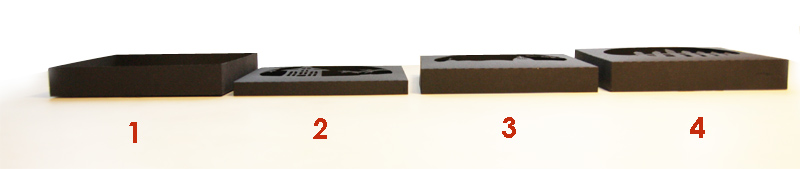
| На каждой рамке есть номер. №1 – нижняя рамка №2, 3 – внутренние рамки № 4 – верхняя рамка | Every frame has a number. #1 – bottom frame #2, 3 – inner frames #4 – top frame |
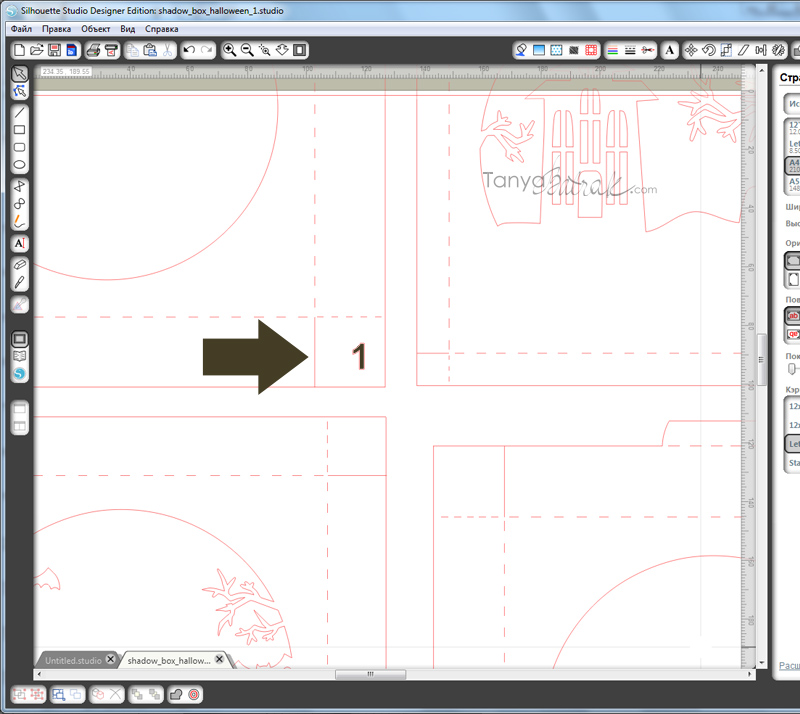
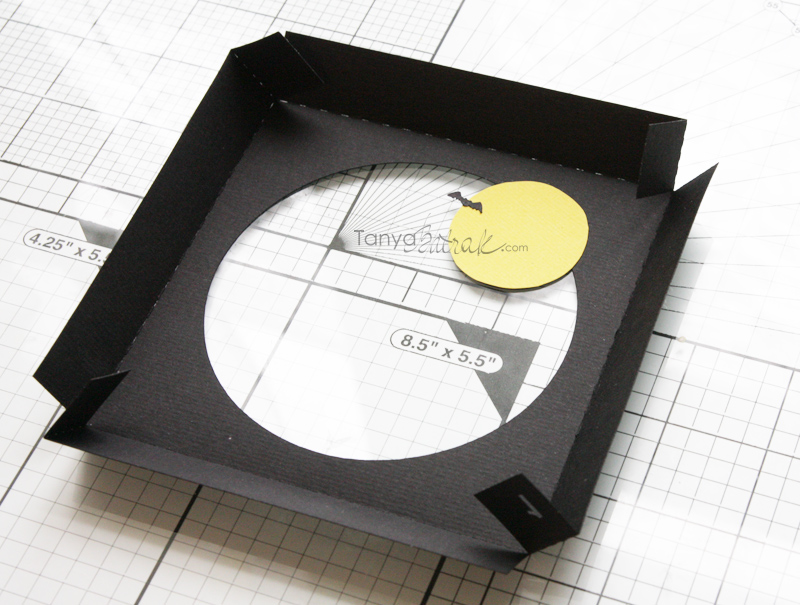
This is frame #1. It also has two separate cutting files – a little bat and the moon. At first glue them to the frame. Then fold all sides TOWARD the front along the fold lines. Now glue corners keeping the frame square.
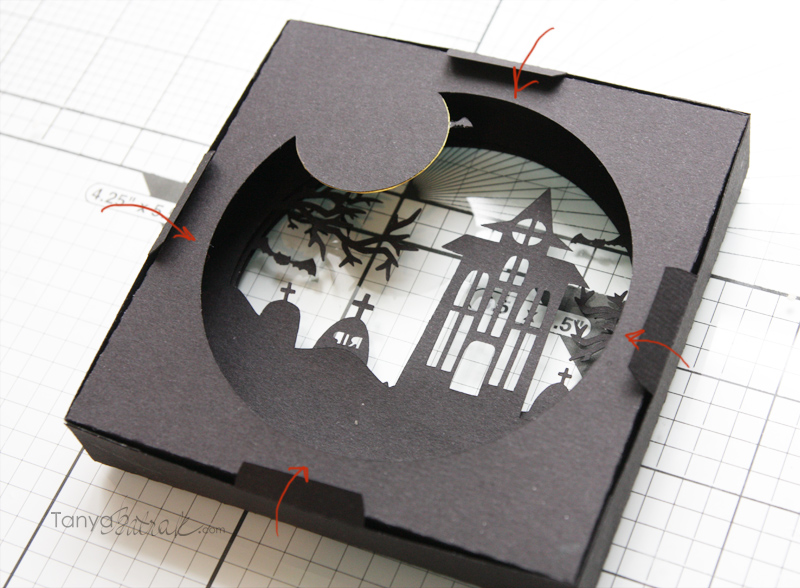
На рамках №2,3 и 4 заверните боковые стороны вниз по линиям сгиба. Склейте уголки, следите, чтобы рамки были квадратными.
Fold frame #2, #3 and #4 sides BACK away from the front along fold lines.Glue corners keeping the frames square.
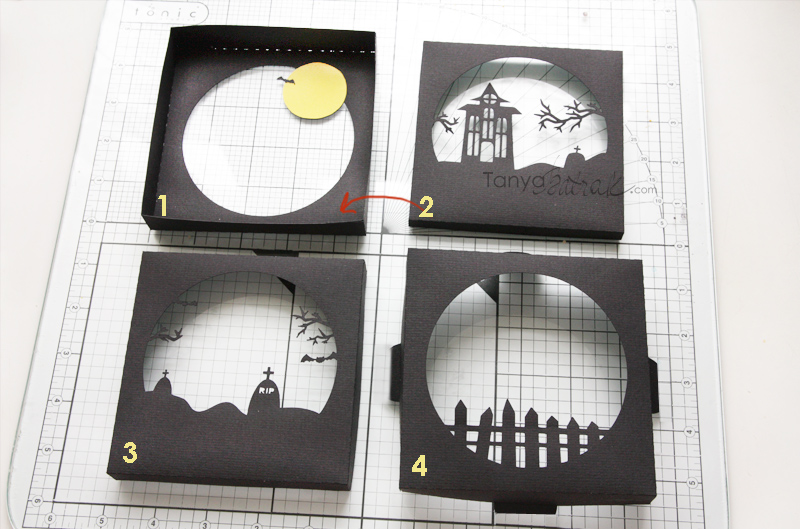
Как видите, внутренние рамки №2 и 3 меньше по высоте, чем другие две. Этот прием и создает 3Д эффект.
Шаг 1. Вставьте рамку №2 в нижнюю рамку №1.
Шаг 2. Вставьте рамку №3 поверх рамки №2.
Шаг 3. Накройте все три рамки верхней рамкой №4.
You can see that the inner frames #2 and #3 are smaller in hight than the other two. This will add a 3D effect to the shadow box.
Step 1. Insert frame #2 into bottom frame #1.
Step 2. Place frame #3 over frame #2.
Step 3.Place top frame #4 over all three frames.