 |  |
I decided to share some Silhouette tips.
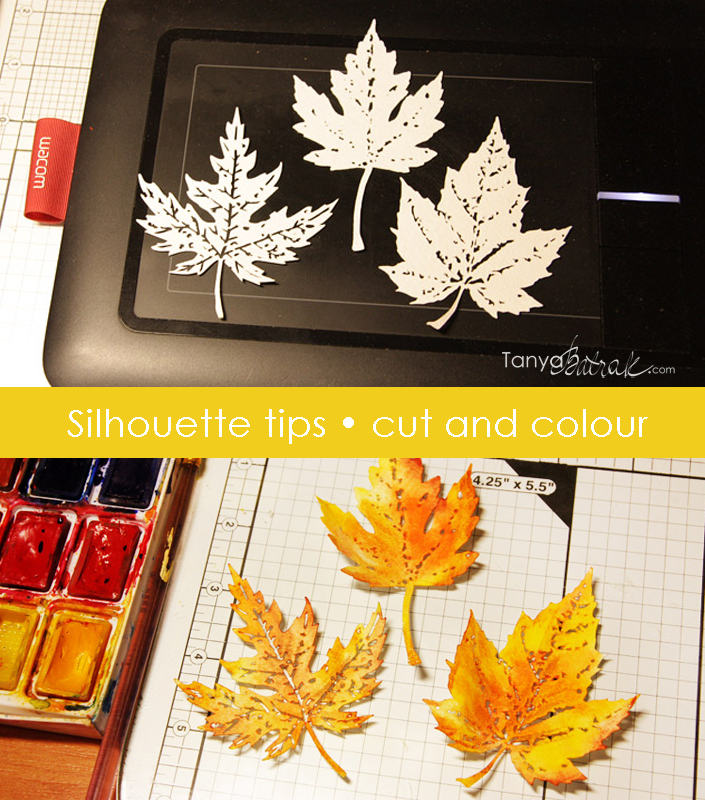
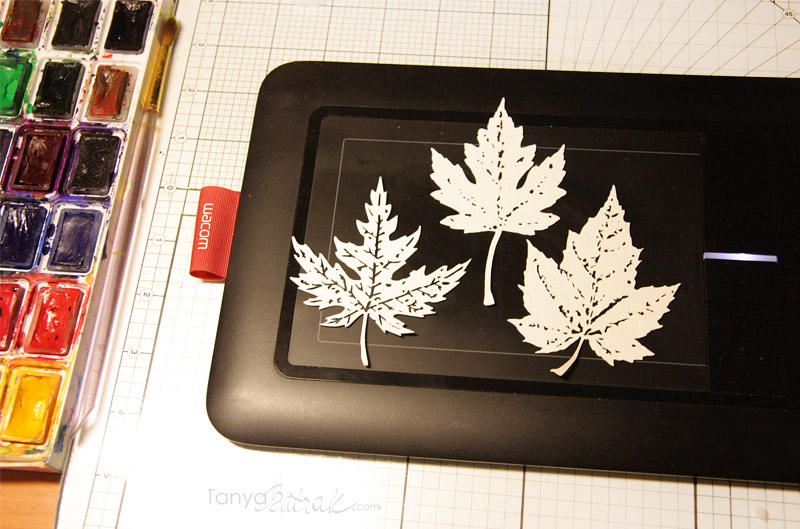
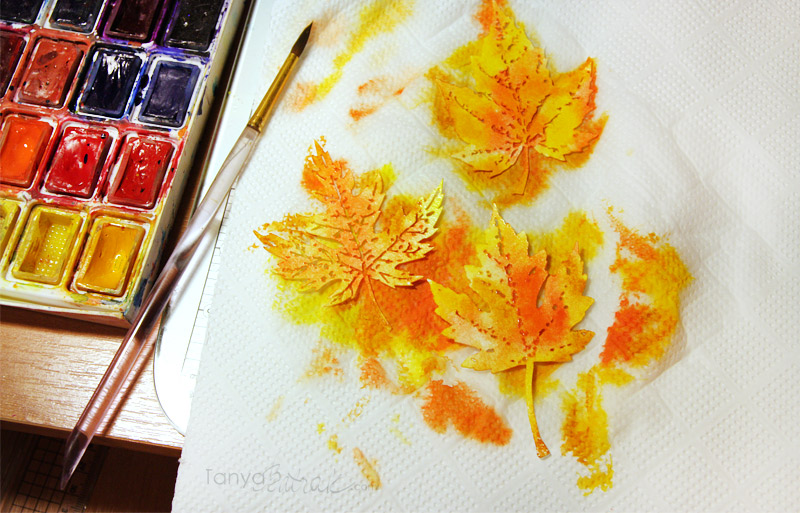
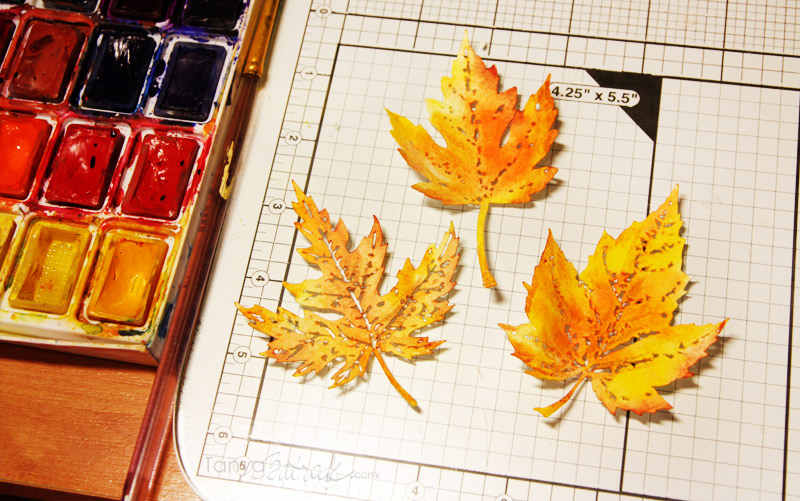
{First} I’ve made a set of leaves. You can use colour paper to cut them, but I wanted to make them to look more natural. So I cut them from watercolour paper.
autumn leaves {Design ID #65897}
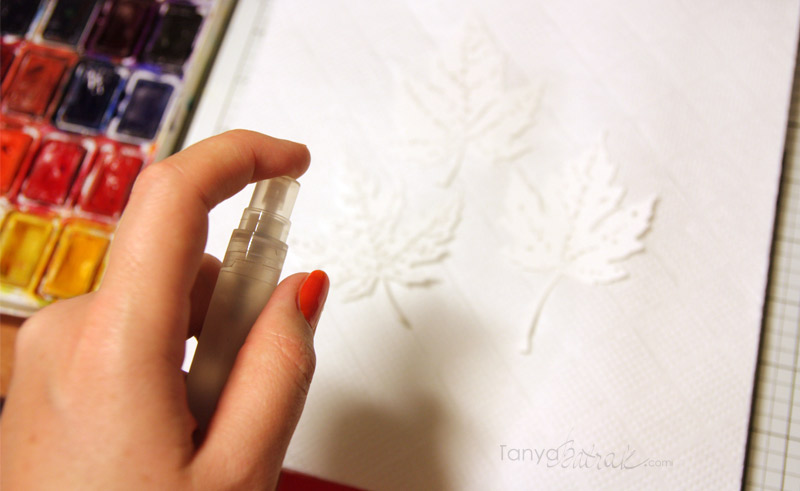
At first you need to wet them with water. You can use a brush or you can spray. This will help you to mix the colours easily. I’m sure you will like the process 🙂
And now while the paper is still wet begin to add paint on it.
♥ Hello, Autumn!
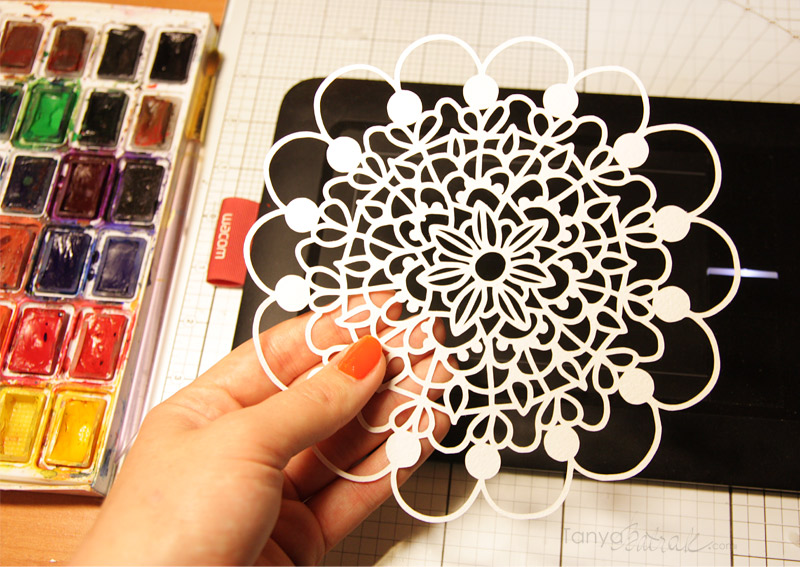
And this is my Mandala cut file. I also cut it from watercolour paper to colour it later. But then I decided to leave it as is – white. Isn’t it beautiful? I think I need to use it in my nest layout 🙂
Mandala {Design ID #65689}
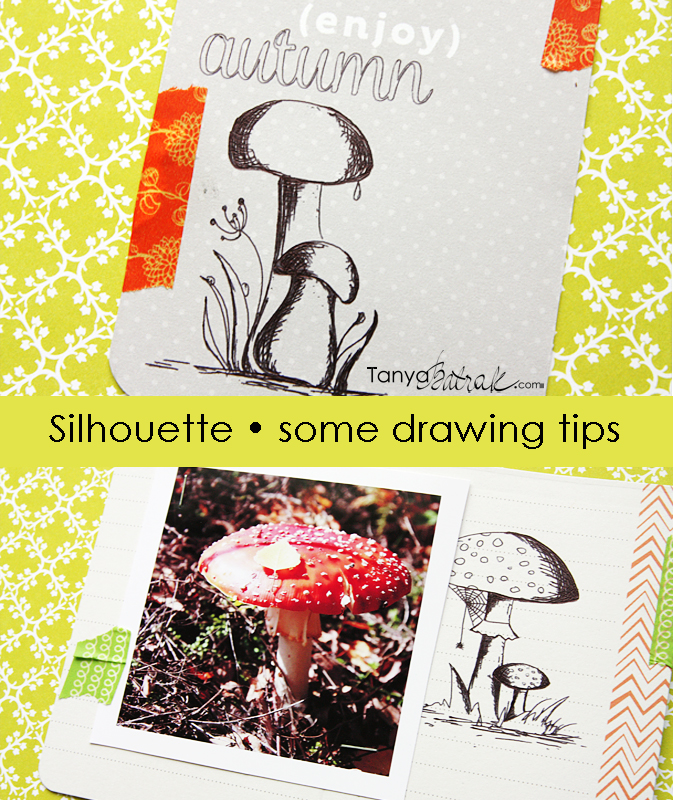
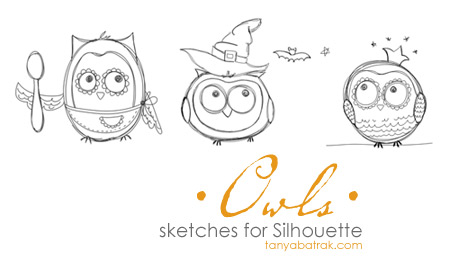
{Second} I guess you know that you can draw with your cutting machine. You can use any cutting file to do this. But there are also sketch files which designed specially for this function. You can’t cut out these designs because all lines cross each other and in the end you will get just a mess. These designs have a special mark in the Silhouette online store – it’s letter S.
These are my new sketch files, new and the first ones 🙂
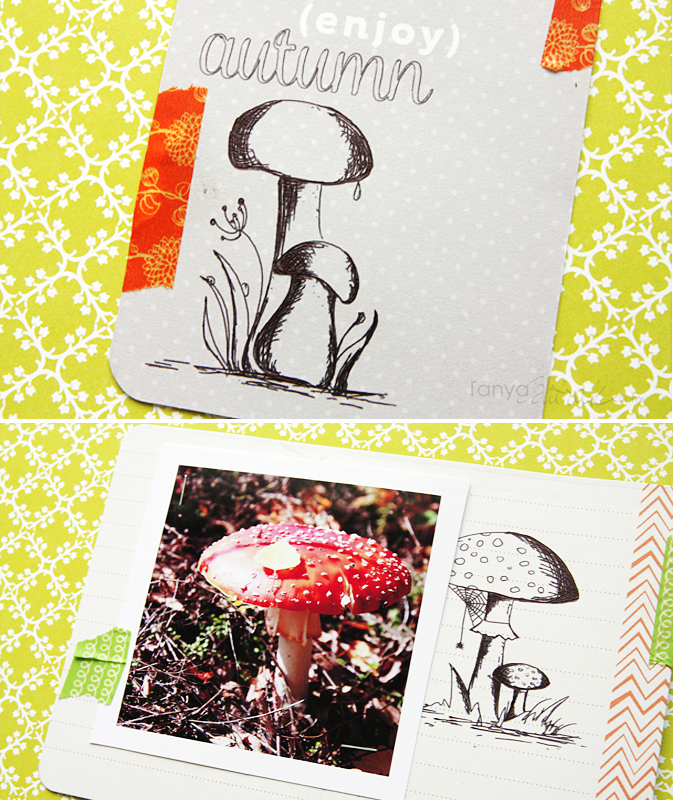
I usually use Becky Higgins Project life pen to write words and journalling. And for the sketches I advise to use an usual pen or a pencil, because if you use a marker (and PL pen is a marker) you will see that all small lines merge together into one thick line. Here is how my mushrooms sketches look line on a paper.
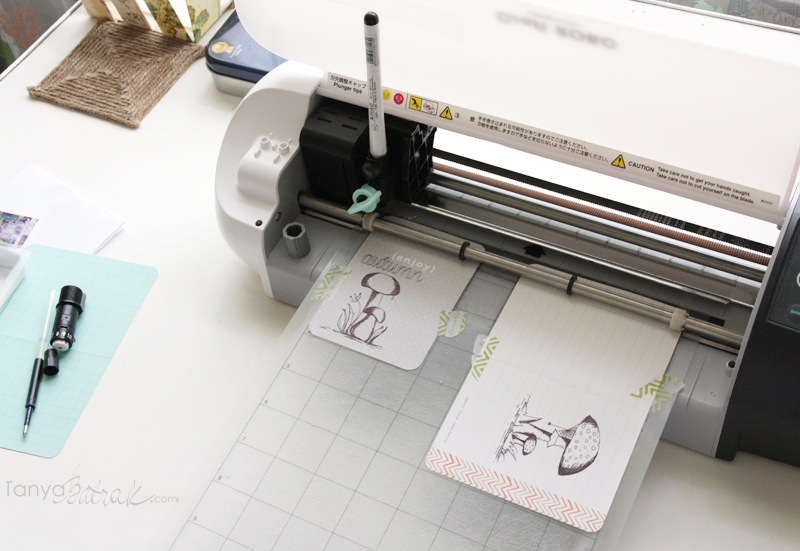
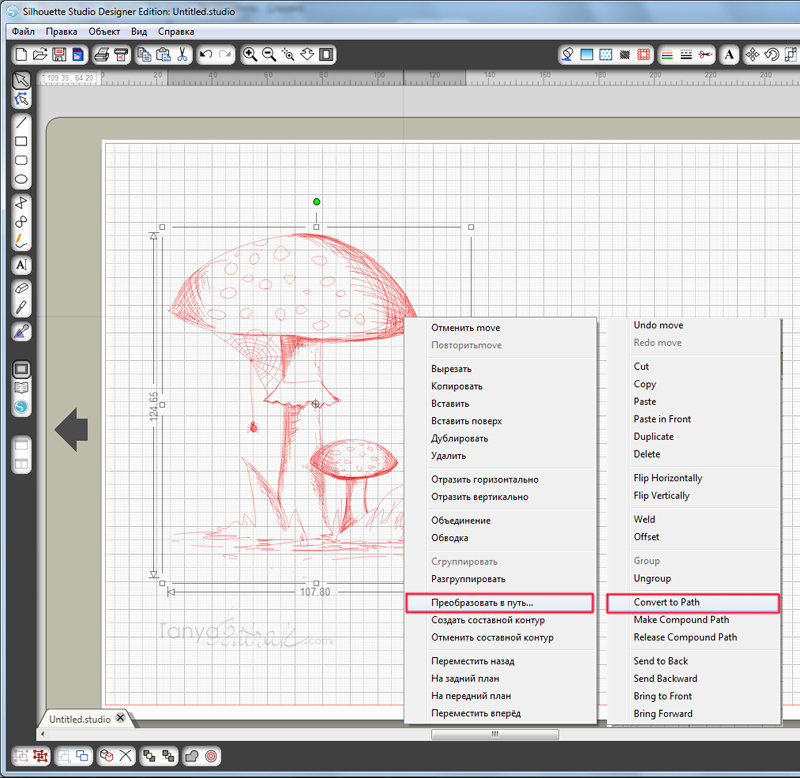
If your cutting machine can’t see the sketch file and the window “The page contains no cut lines.” pops up, all you need is right click plus Convert to path. That’s it 🙂
It was a long post :)) Thanks for stopping by!!
♥♥♥


")
