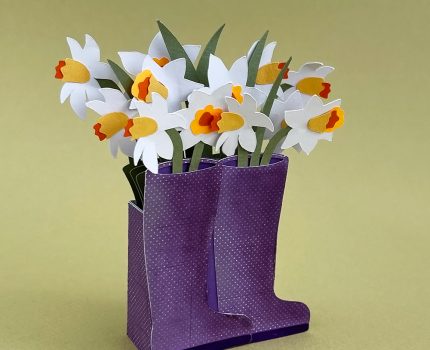
Hello crafty friends! Today, I’m excited to share this super cute spring box card – Rain Boots Box Card with Daffodils. This charming mini box card SVG is bursting with springtime sweetness and is perfect for any season when you want to send a heartfelt greeting.

Rainboots Box Card with Daffodils

A Sweet Spring Surprise

Imagine a pair of dainty rain boots, topped with a cheerful bouquet of daffodils. This design panel folds flat for mailing, transforming into a lovely 3D keepsake when opened. Measuring approximately 11 cm tall and 10 cm wide, it’s just the right size to tuck into an envelope and send a smile across the miles.

This Spring box card project is not only adorable—but also practical. The backside offers space for writing a message, making it an ideal greeting for birthdays, thank-you notes, Easter, or simply to bring some spring cheer.

Why You’ll Love This Box Card SVG
  • Compact and mail-friendly – The fold-flat design makes it easy to post without extra bulk.

  • Perfectly seasonal – Layered daffodils deliver a fresh, vibrant spring vibe.

  • Compatible with multiple cutting machines – Whether you’re using Silhouette Studio or another platform, the provided Silhouette Studio and SVG file ensures a crisp cut every time.

This box card is a beautiful addition to your crafting toolkit—ideal for DIY greeting cards, spring gifts, or colorful table décor pieces.

What You’ll Need

To craft this sweet rain boots box card, gather:

  • The rain boots box card ✂️ SVG file, or use Silhouette Studio cutting file.

  • Cardstock in your choice of colors (spring pastels and bright floral tones work particularly well).

  • A cutting machine (such as Cricut, Silhouette Cameo, or similar).

  • Adhesives like glue stick or double-sided tape.

  • Optional: markers or embellishments for added flair.


Rainboots Box Card with Daffodils

The card is 11 cm high and 10 cm wide.
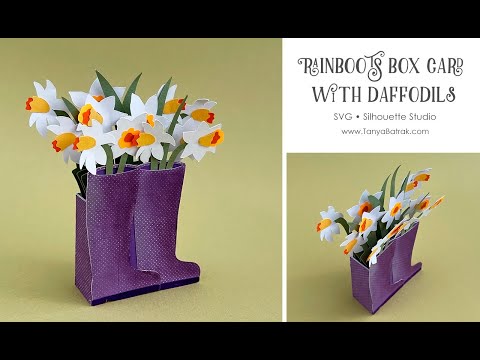
Rainboots Box Card with Daffodils

Step-by-Step Assembly Rain Boots Box Card

  1. Upload the SVG or Studio file to your cutting software (Silhouette Studio, Cricut Design Space, etc.).

  2. Cut the design from your chosen cardstock.

  3. Fold along all score lines carefully for crisp edges.

  4. Assemble the rain boots shape, gluing tabs securely to form the 3D silhouette.

  5. Layer and arrange the daffodils—this is where the layered daffodils truly shines.

  6. Add a personal message on the flat back of the card, then flatten and seal inside an envelope.

There’s also a helpful video assembly tutorial available to guide you through every step.

Rainboots Box Card with Daffodils

Rainboots Box Card with Daffodils

Rainboots Box Card with Daffodils

Video Assembly Rain Boots Box Card

Rainboots Box Card with Paper Daffodils

Visit the Spring Crafts for more templates and inspiration!

Happy crafting!