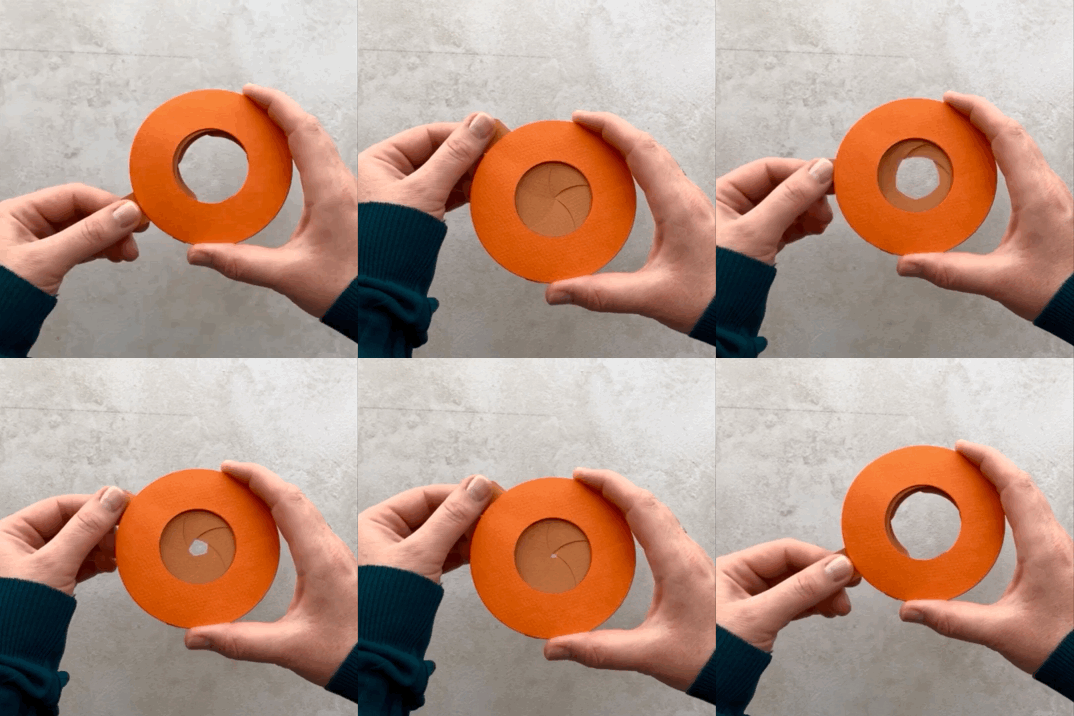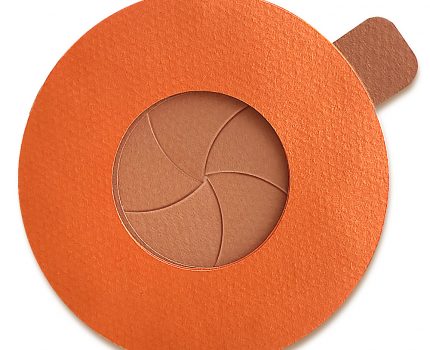
I love to create different paper mechanisms which add some magic to your paper projects. This DIY paper iris shutter is super easy to assemble. I designed it as a separate part so you can add it anywhere you want – on a card, a scrapbook layout, an album, a lap-book and more. That magic moment when you pull the lever down and your project comes alive will be a wonderful surprise and bring a smile to everyone’s face.
• Paper Iris Shutter Cut File (SVG/DXF/EPS)
You don’t need any additional supplies to create the iris shutter – just paper and glue. I advise to cut the inner parts out of the cardstock 160 gsm or thicker.
Paper iris shutter video assembly tutorial.
In this post you’ll find how you can use the paper iris shutter on a scrapbook layout.
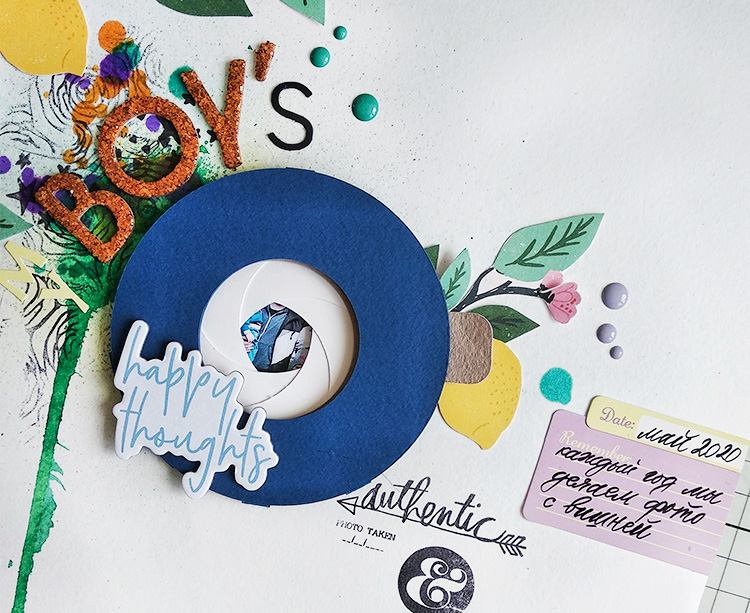
This idea with the hidden message inside the iris shutter is super fun! And yes, you can decorate it as you want. Give it a try and surprise your friends and family with the cute iris shutter card. (by @yukakry via Instagram)

And take a look this gorgeous baby album with the paper mechanical iris on a cover. You can put a photo under the iris. So when you pull the lever down it magically opens up to display the photo. (by Chaitali Wagh @papertwisterindia via Instagram)
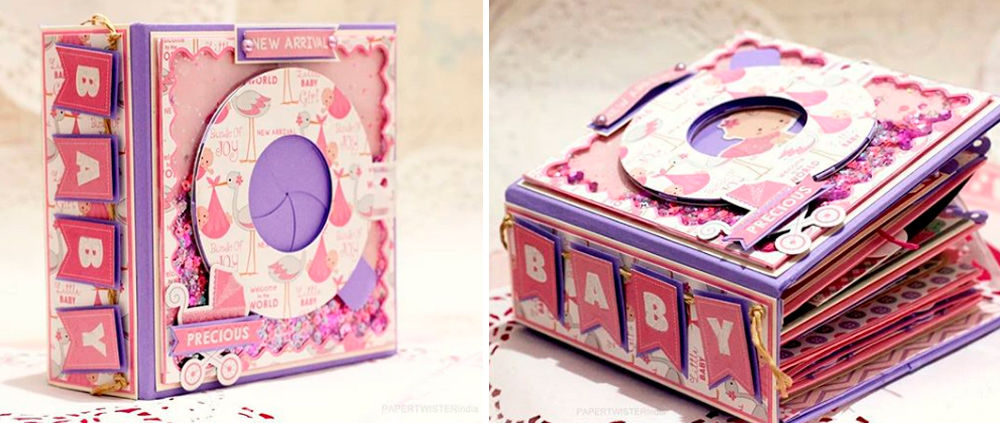
It works perfectly and easily.
