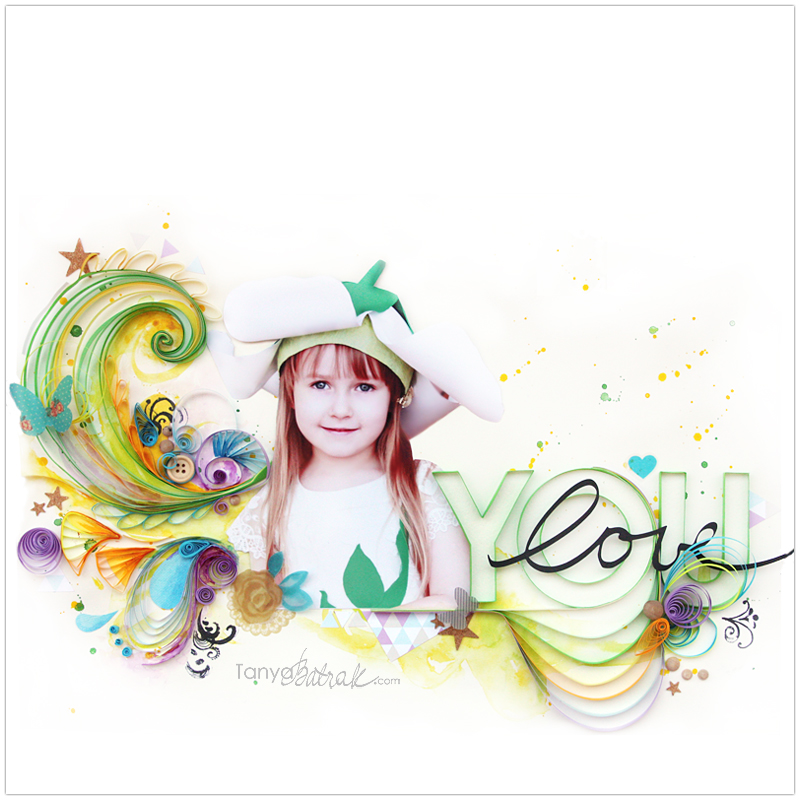
I’ve been wanting to combine quilling and scrapbooking for a long time and even bought a paper kit for quilling. It was hanging on the wall near my desk for a couple of months then I put it away. Last week a cork board for quilling caught my eye in a store and I decided – that’s the sign! I haven’t tried quilling before, this is my first experience and I think I’ve found my new passion!! Though I did not try, I have been admiring the works of Julia Brodskaya for a long time – her projects are simply amazing!
![scrapbooking with quilling](https://www.tanyabatrak.com/wp-content/uploads/2014/06/scrapbooking_quilling_8.jpg)
![My First Scrapbook Layout with Quilling](https://www.tanyabatrak.com/wp-content/uploads/2014/06/scrapbooking_quilling_2.jpg)
![My First Scrapbook Layout with Quilling](https://www.tanyabatrak.com/wp-content/uploads/2014/06/scrapbooking_quilling_3.jpg)
my new cork board
![](https://www.tanyabatrak.com/wp-content/uploads/2014/06/scrapbooking_quilling_4.jpg)
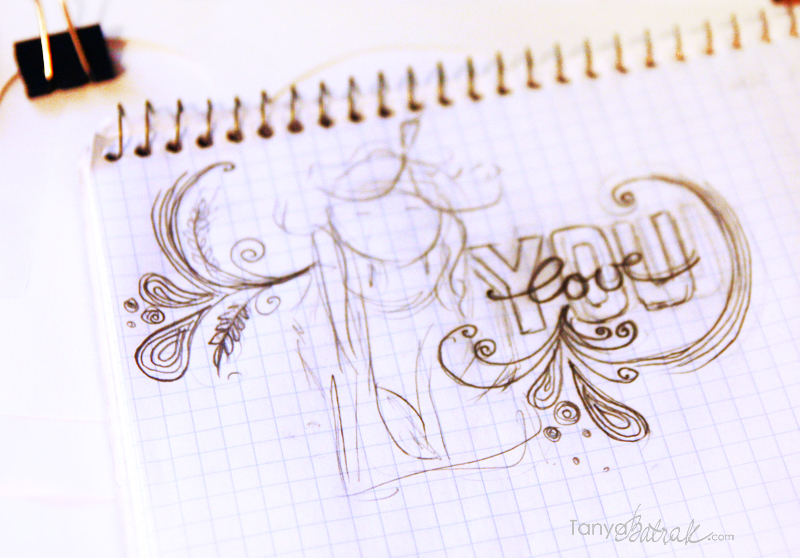
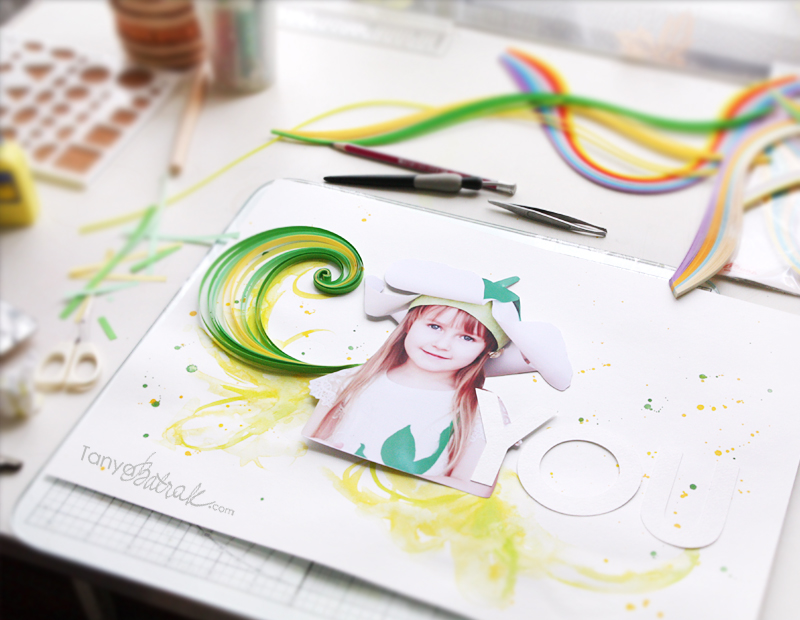
I draw a sketch to make it easier to work with.
![](https://www.tanyabatrak.com/wp-content/uploads/2014/06/scrapbooking_quilling_9.jpg)
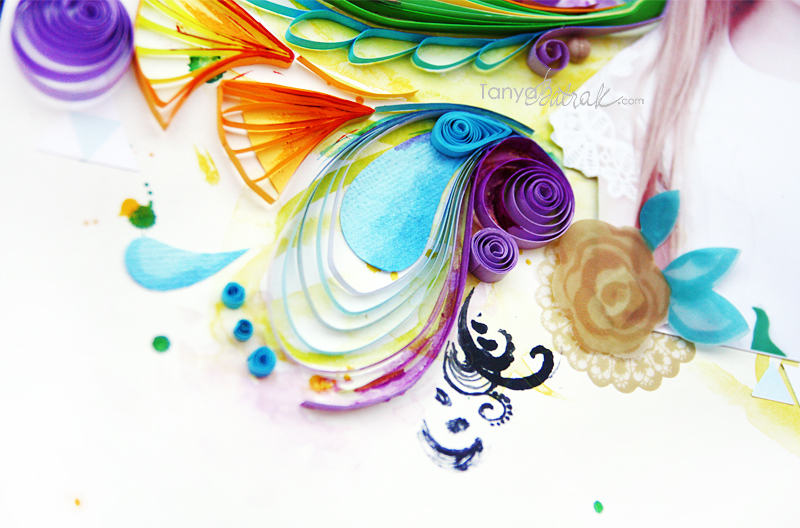
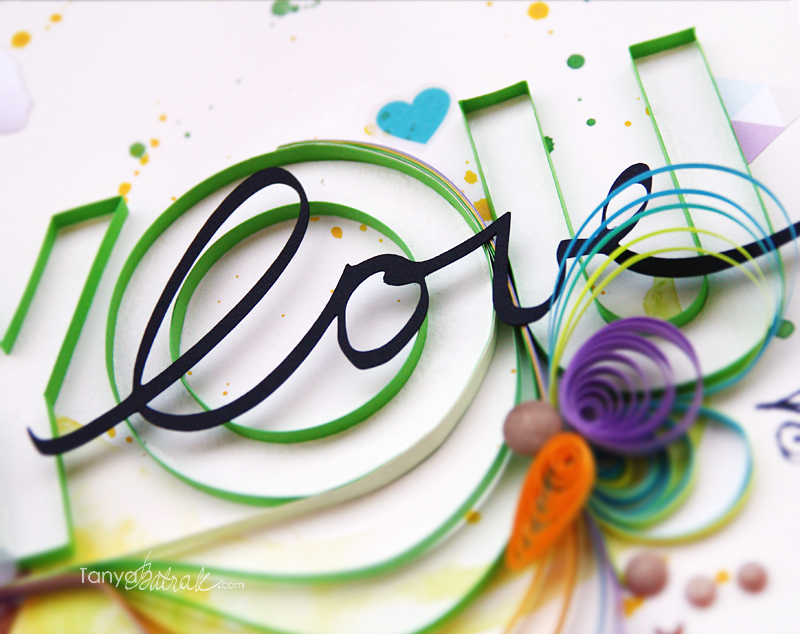
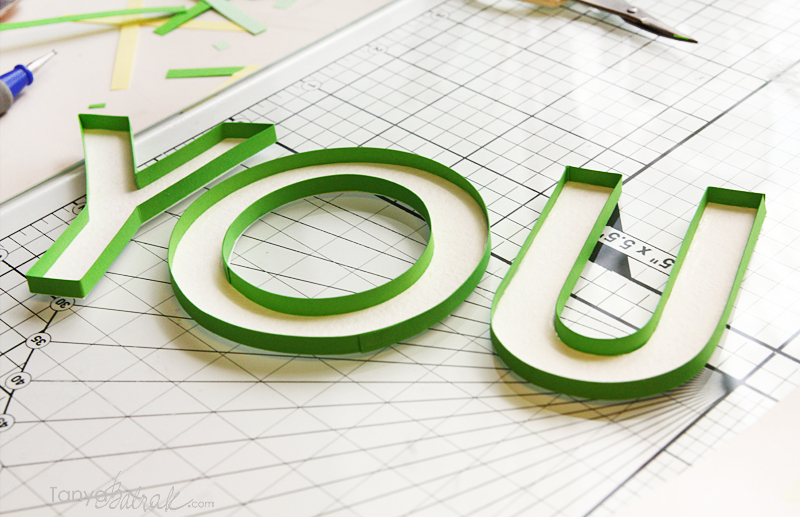
At first, I cut the letters on my Silhouette using watercolour paper. Then I glued paper stripes around the letters. The thicker background paper is the easier it is to glue the papers stripes.
![Scrapbook Layout with Quilling tutorial](https://www.tanyabatrak.com/wp-content/uploads/2014/06/scrapbooking_quilling_5.jpg)
![Scrapbook Layout with Quilling tutorial](https://www.tanyabatrak.com/wp-content/uploads/2014/06/scrapbooking_quilling_7.jpg)
![Scrapbook Layout with Quilling tutorial](https://www.tanyabatrak.com/wp-content/uploads/2014/06/scrapbooking_quilling_6.jpg)
What do you think?