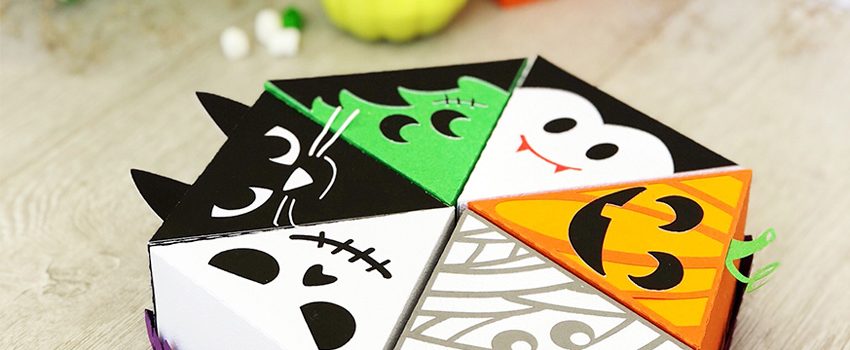

Funny and easy to make Halloween themed cake for your little trick-o-treaters. I’m sure they’ll love it!
| Cat Box Design ID | 278164 |
|---|
| Dracula Box Design ID | 278165 |
|---|
| Frankenstein Box Design ID | 278166 |
|---|
| Mummy Box Design ID | 278167 |
|---|
| Pumpkin Box Design ID | 278168 |
|---|
| Skeleton Box Design ID | 278169 |
|---|
| Plate for Halloween Cake ID | 278170 |
|---|
The assemble tutorial will help you to assemble any box from the cake.

1. Cut out all pieces. The lid parts are marked with the letter T, and the bottom parts are marked with the letter b.
2. First adhere the triangle on the inner side of the lid. (Repeat this step for the Cat and Mummy boxes.)
3. Insert the pumpkin tail into the corresponding slot.
4. Now you can adhere the side part of the lid marked with the letter T, add adhesive tape to the remaining tabs and form the lid. Adhere the eyes and the mouth. Adhere the side part marked with the letter b to the bottom base marked with the same letter, add adhesive tape to the remaining tabs and form the bottom of the box.


I designed the paper cake in the way the both CAMEO and Portrait users will be able to cut it out.

1. If you have the CAMEO and the 12×12 paper you can weld two parts in the Silhouette Studio before cutting and cut the plate in one piece. If you have the Portrait cut out the plate parts as is. And adhere them together.
2. Adhere the corner fence boards together.
3. Repeat with all plate corners.


